


Introduction
A great way to upsell your hosting packages is with Hippo Mail, our professional, high-deliverability email solution. As a sticky product, it keeps your clients loyal to you, and with 50% off our standard RRP, it provides an excellent reseller margin.
Unlike free email services, Hippo Mail is digitally signed, making it more reliable and professional. It also comes packed with features, including:
-
Mailbox backup
-
Spam training tools
-
Email whitelists and blacklists
Your clients also benefit from our branded Webmail, which you can fully white-label to reflect your business identity.
Step 1: Open the Action Menu
In your Reseller Hub, click on the Action Menu button
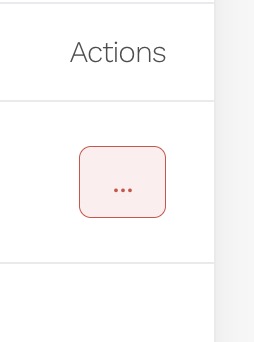
Next choose Add Email Slot.

Step 2: Configure the Email Slot
On the Email Configuration Screen, you can set up the account. Options include:
-
The number of mailboxes (email addresses) required
-
Any email aliases needed
-
The number of distribution lists
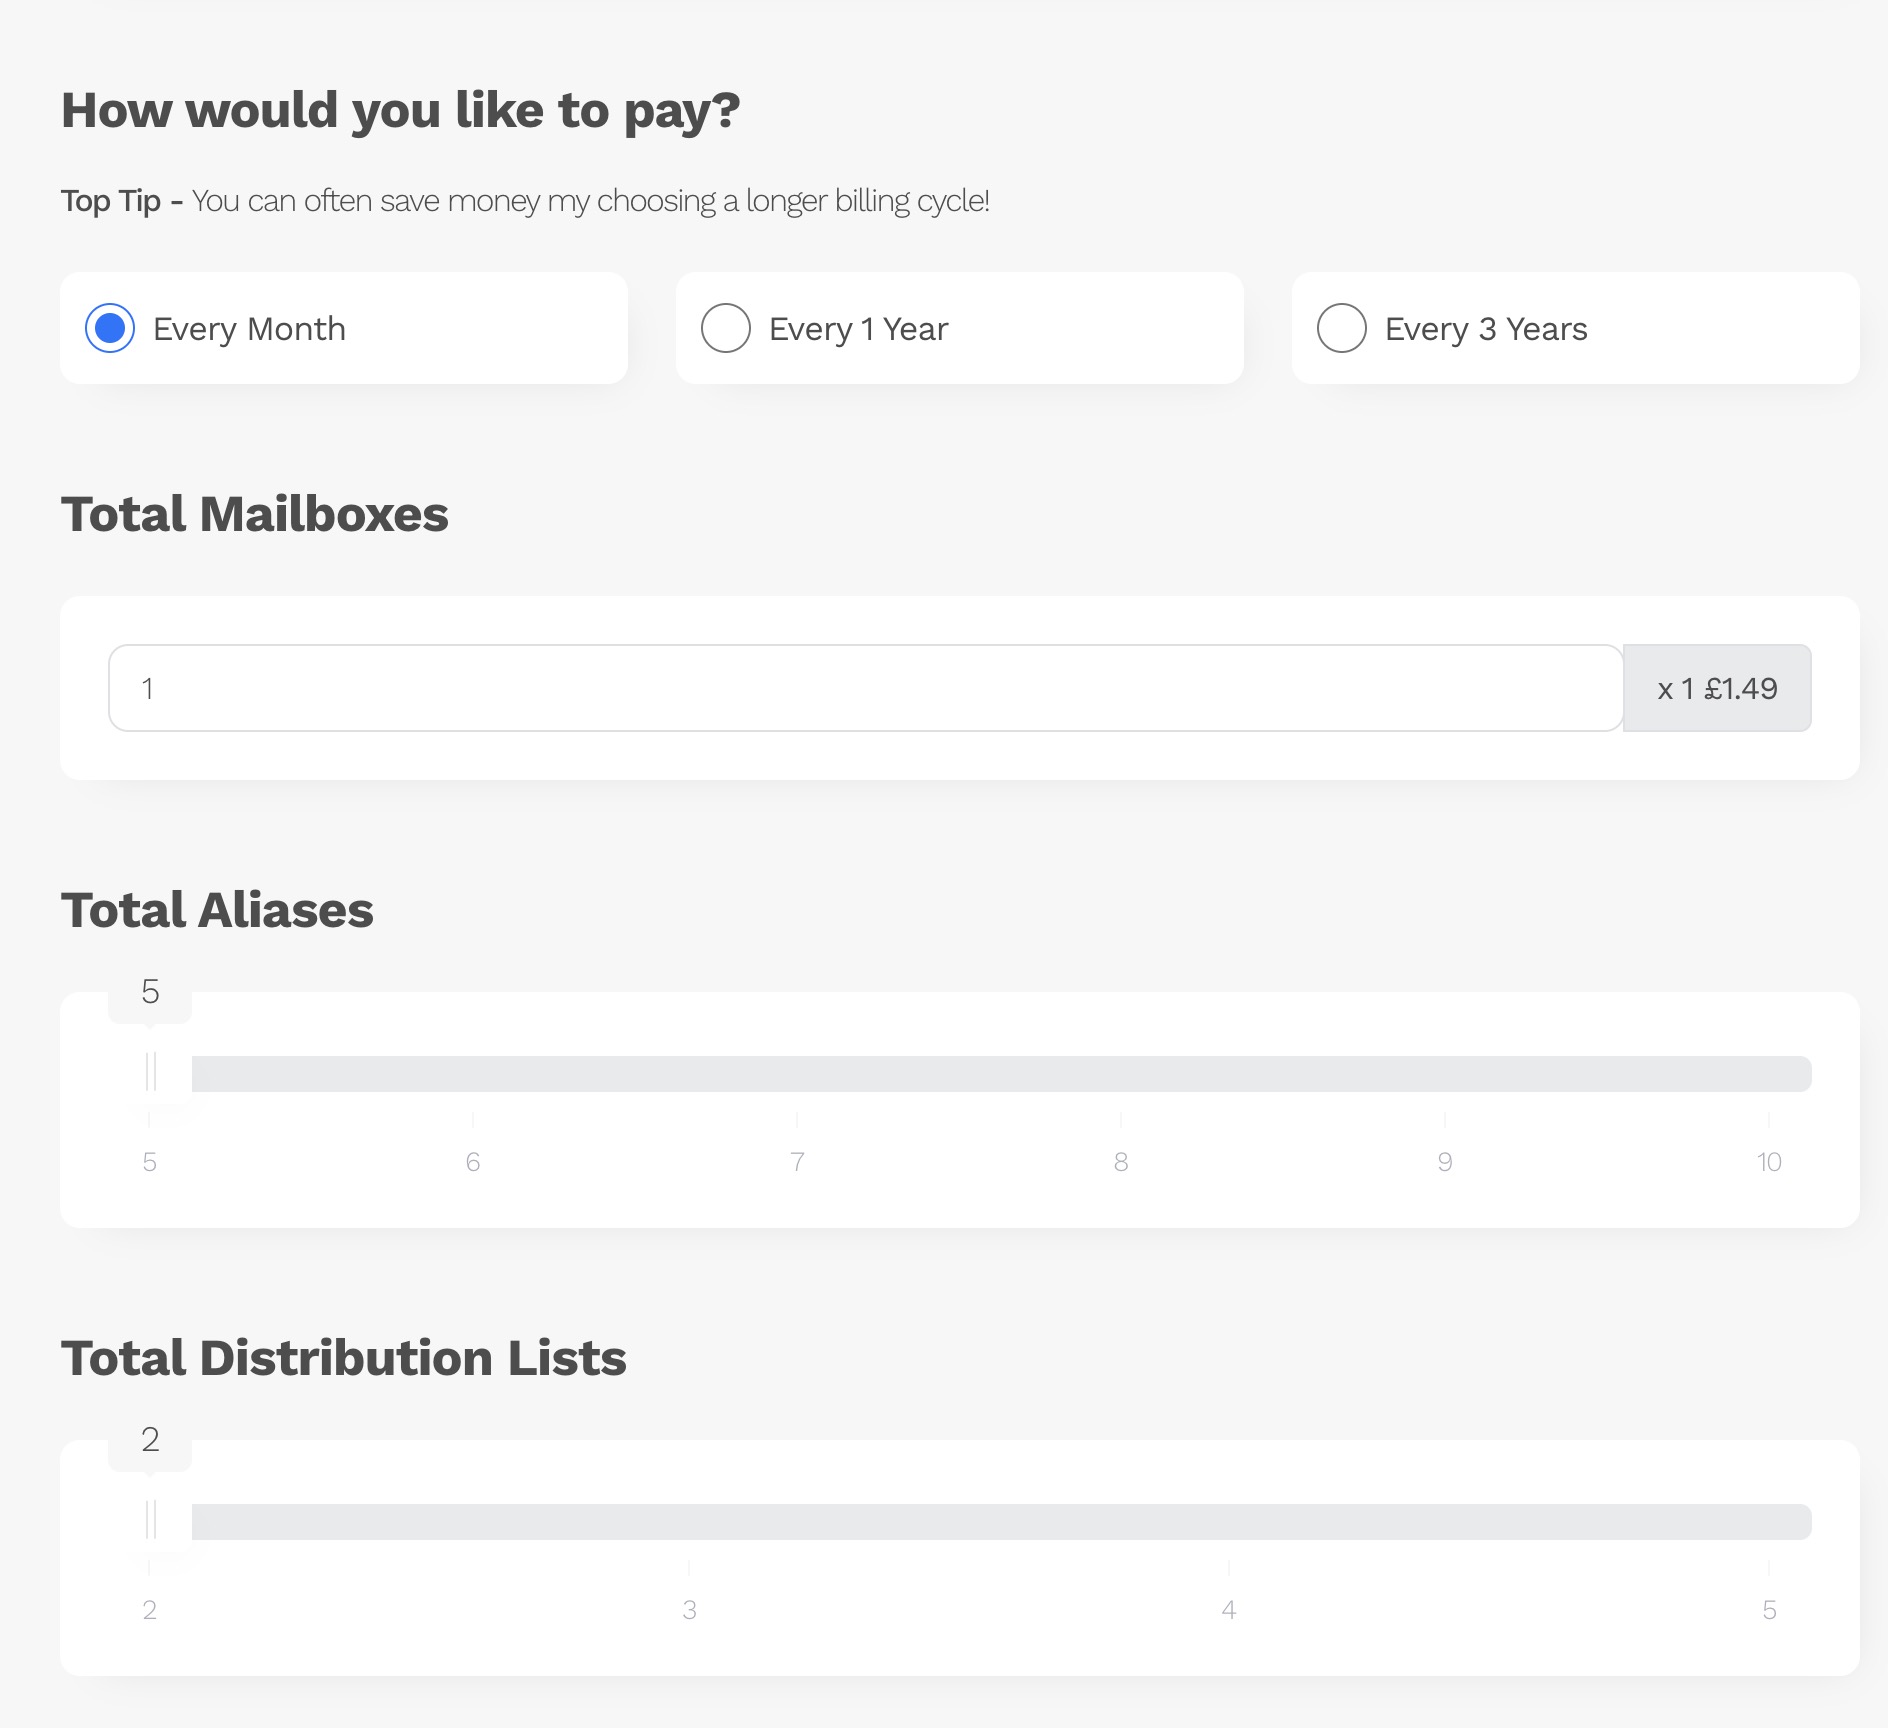
Tip: Don’t worry if you’re unsure at this stage—you can increase or decrease these settings later as your client’s needs change.
When you’re happy with the configuration, click Continue.
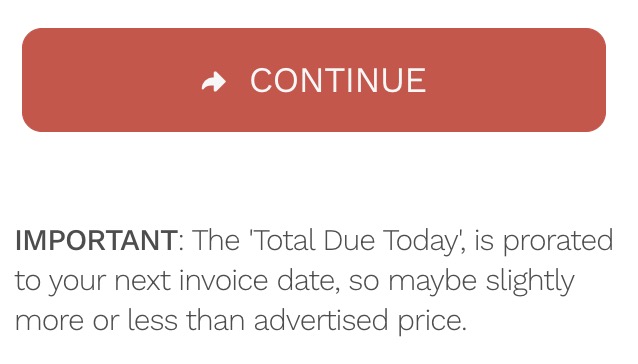
Note: Mailbox costs are prorated at the time of ordering. This means your initial payment may be slightly more or slightly less than the standard price, depending on where you are in your billing cycle.
Step 3: Proceed to Checkout
At the checkout screen:
-
Select a payment method.
-
Agree to the terms and conditions.
-
Click Proceed.
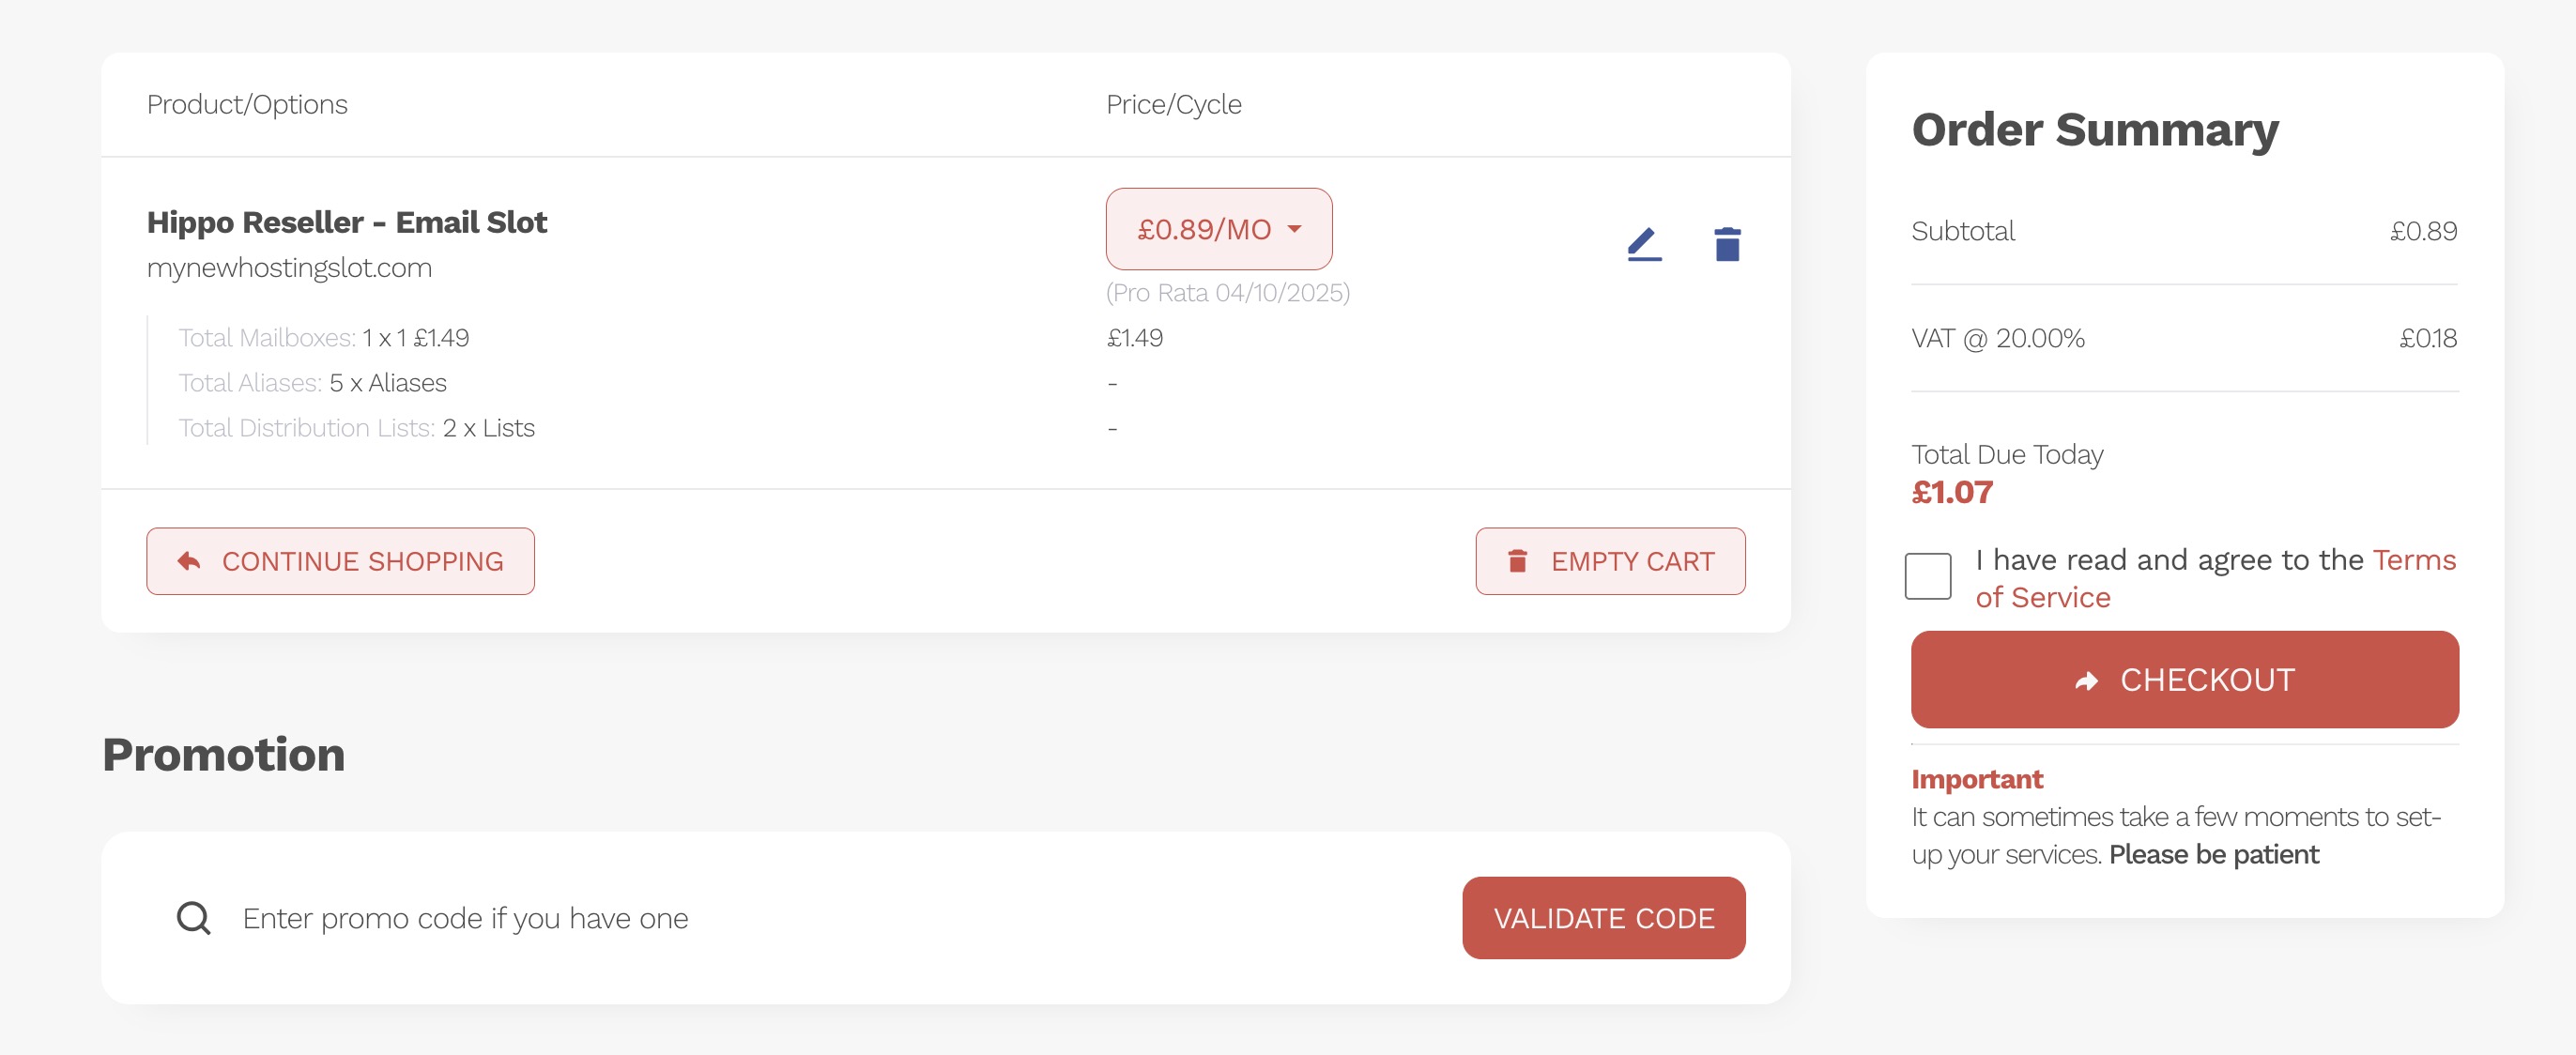
Your email account will then be provisioned. This can take a few moments, so please be patient. Once complete, you will see the Order Placed Confirmation Screen.

Step 4: Confirmation
You will receive a detailed confirmation email with full setup instructions, including:
-
Adding accounts to email clients (e.g. Outlook, Apple Mail)
-
Accessing your new webmail service
You’ll also see in the Reseller Hub that the new email slot has been attached to the client account.
Step 5: DNS Settings
For your new email to work correctly, the right DNS records must be in place.
-
Using Hipposerve nameservers: Most records will be configured automatically. You will still need to set up your unique DKIM records, and instructions will be included in the onboarding email.
-
Using third-party nameservers: You will need to manually enter the DNS records provided. The onboarding email contains a link to our step-by-step guide.


